
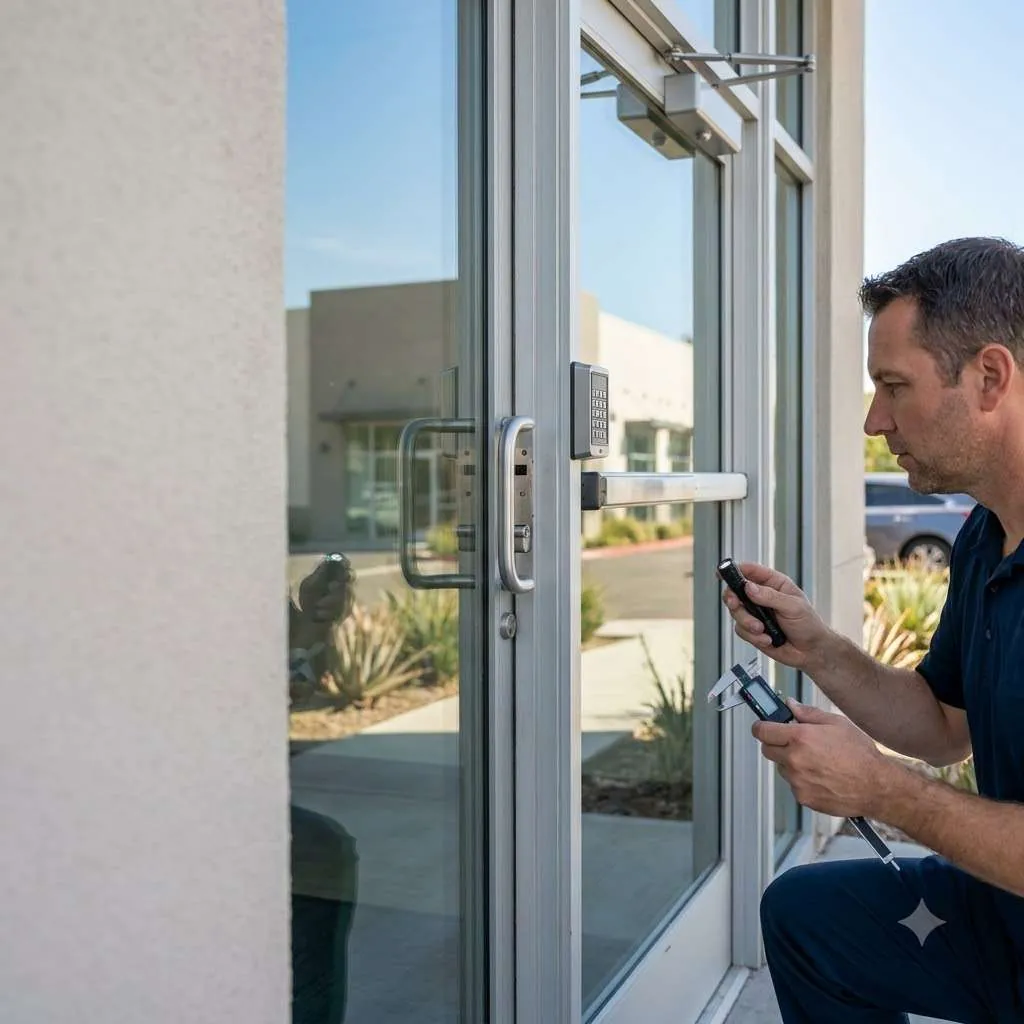
What this guide covers
Clear door photographs help explain a service request without requiring you to identify every component yourself. A complete set shows the opening, the hardware, and the relationship with the frame. This guide gives you a practical sequence for useful images while keeping private access information out of view.
Photographs support an initial assessment but may not establish every measurement, hidden component, or needed part. Expect the technician to review the actual installation before confirming a final supported scope. Do not dismantle a lock merely to create a more detailed image.
Set the boundaries before you begin
Photograph only a door you are authorized to document and access. Keep people, private paperwork, neighboring unit details, and sensitive site information out of the frame. If the opening belongs to management, obtain permission through the responsible party.
Stay in a safe position with authorized access available. Do not lean into a closing door, hold a heavy gate awkwardly, or stand in traffic to capture a view. If an angle is inaccessible, explain that limitation and let the technician obtain it during the assessment.
Start wide, then move closer
Take a full view of the door and surrounding frame from each permitted side. This shows the installation type and nearby hardware that a close-up might omit. Use adequate light and hold the camera steady. Avoid filters or editing that hides the actual condition.
Next, photograph the outside and inside lock assemblies. Include the handle, deadbolt, plate, or reader as appropriate. Keep the whole component in view before taking a closer identification image. If there are several locks on one door, show their relative positions.
Show the edge and frame relationship
Where the door is safely open, photograph the edge hardware and the corresponding strike or keeper on the frame. Include visible latch or bolt components without touching them. These views may reveal a different installation than the exterior trim suggests.
If the symptom concerns scraping, dragging, a closer, or a sliding panel, add a view of the relevant surrounding area. Do not reproduce a fault through force for the camera. A written note describing ordinary operation is better than a dramatic photograph created by unsafe testing.
Capture identification without exposing access
Take a readable image of a visible manufacturer or model marking. Record its location in the message. A logo may identify a brand while a model or part marking helps narrow the supported product. If no marking is visible, write “unidentified” rather than removing covers.
Do not include photographs of key cuts, usable access codes, credential numbers, safe combinations, or identity documents in the image set. Remove unrelated private items from the background. Where a location identifier is necessary, provide it through the agreed private communication channel.
Label and send the set
Use a simple filename or message label such as D-01 outside, D-01 inside, D-01 edge, and D-01 strike. Add a short symptom description: “key turns with door open; binds when closed,” or “latch does not catch during normal closing,” only if you actually observed it.
Confirm the appropriate photo submission method with Superior Locksmith. The email address is superiorlocksmith55@gmail.com, but large files and private records may require an agreed process. Do not assume a website form supports attachments unless that function has been confirmed.
Copy and use this worksheet
Use one record for each opening, vehicle, user, or project item covered by this guide. Write “unknown” where information is missing, rather than guessing. Keep this working record private; it is an administration aid, not a place to publish combinations, usable access codes, photographs of key cuts, or personal identification documents.
- Door ID and authorized property contact: ____.
- Full outside view captured: yes / no; reason if unavailable: ____.
- Full inside view captured: yes / no.
- Outside hardware and inside hardware references: ____.
- Door-edge and frame-strike references: ____.
- Visible make/model marking and image reference: ____.
- Related closer, gate, sliding-panel, or reader view: ____.
- Observed symptom and normal access condition: ____.
- Sensitive details removed from images: yes / review required.
- Submission channel confirmed and date sent: ____.
Complete the review and keep a useful record
Review the set before sending it. A useful group has enough context to identify the opening and enough detail to explain the symptom without exposing credentials. If several doors are included, keep each door’s views together so a technician does not mistake one strike for another door’s lock.
Keep a copy with the completed service record and add the final hardware identifier after the assessment. The photographs then become a useful reference for a later repair enquiry rather than a substitute for an installation-specific review.
A ready-to-use photo message
A concise submission message can read: “Door D-01, private unit entrance. Authorized contact available. Images show the full door, outside hardware, inside hardware, edge, and strike. The observed problem is that the key turns normally only after the door is pulled toward the frame. The door remains accessible. Please confirm whether more identification is needed.” Adapt the symptom to what you actually observed.
Where a view is unavailable, add “edge photograph not obtainable safely; please review on site.” This is more helpful than taking an unsafe angle or sending an unrelated door edge. Keep the image labels consistent so the receiving team can connect each view to the correct opening.
Do not include a usable code or key-blade image to make the message appear complete. The team can request appropriate private information through the agreed channel. A complete photo set is about installation context and condition, not publishing the means of entry.
Related service information
For the work discussed here, review storefront door repair and door hardware inventory. Describe the actual situation to the team before choosing a service scope.